OAuth 2.0 Implementation in Golang
Implementing Google's Authentication in Golang Web-APIs.
I am a Developer experienced in building Web Apps and CLI using Golang. I'm also experienced in Laravel development
Introduction :
Security is without doubt a very important feature for any public and even private facing service or API and it’s something that you need to pay a lot of attention to get right.
In this tutorial, we are going to see an in-depth explanation of OAuth2 and its implementation using Golang.
OAuth 2.0 :
OAuth 2.0, which stands for “Open Authorization”, is a standard designed to allow a website or application to access resources hosted by other web apps on behalf of a user.
OAuth 2.0 is an authorization protocol and NOT an authentication protocol. As such, it is designed primarily as a means of granting access to a set of resources, for example, remote APIs or user data.
OAuth 2.0 uses Access Tokens. An Access Token is a piece of data that represents the authorization to access resources on behalf of the end user. OAuth 2.0 doesn’t define a specific format for Access Tokens. However, in some contexts, the JSON Web Token (JWT) format is often used. This enables token issuers to include data in the token itself. Also, for security reasons, Access Tokens may have an expiration date.
What are we building :
In this tutorial, we are going to build a simple API using Google API for authentication and authorization of the user.
Prerequisites💯 :
To continue with the tutorial, firstly you need to have Golang and Fiber installed.
Installations :
Getting Started 🚀:
Let's get started by creating the main project directory go-oauth2 by using the following command.
(🟥Be careful, sometimes I've done the explanation by commenting in the code)
mkdir jwt-auth-api //Creates a 'jwt-auth-api' directory
cd jwt-auth-api //Change directory to 'jwt-auth-api'
Now initialize a mod file. (If you publish a module, this must be a path from which your module can be downloaded by Go tools. That would be your code's repository.)
go mod init github.com/<username>/go-oauth2
To install the Fiber Framework run the following command :
go get -u github.com/gofiber/fiber/v2
Client ID and Client Secret :
Before moving ahead let's get the Client ID and Client Secret for Google API which we are going to store in .env file in our main directory go-oauth2 .
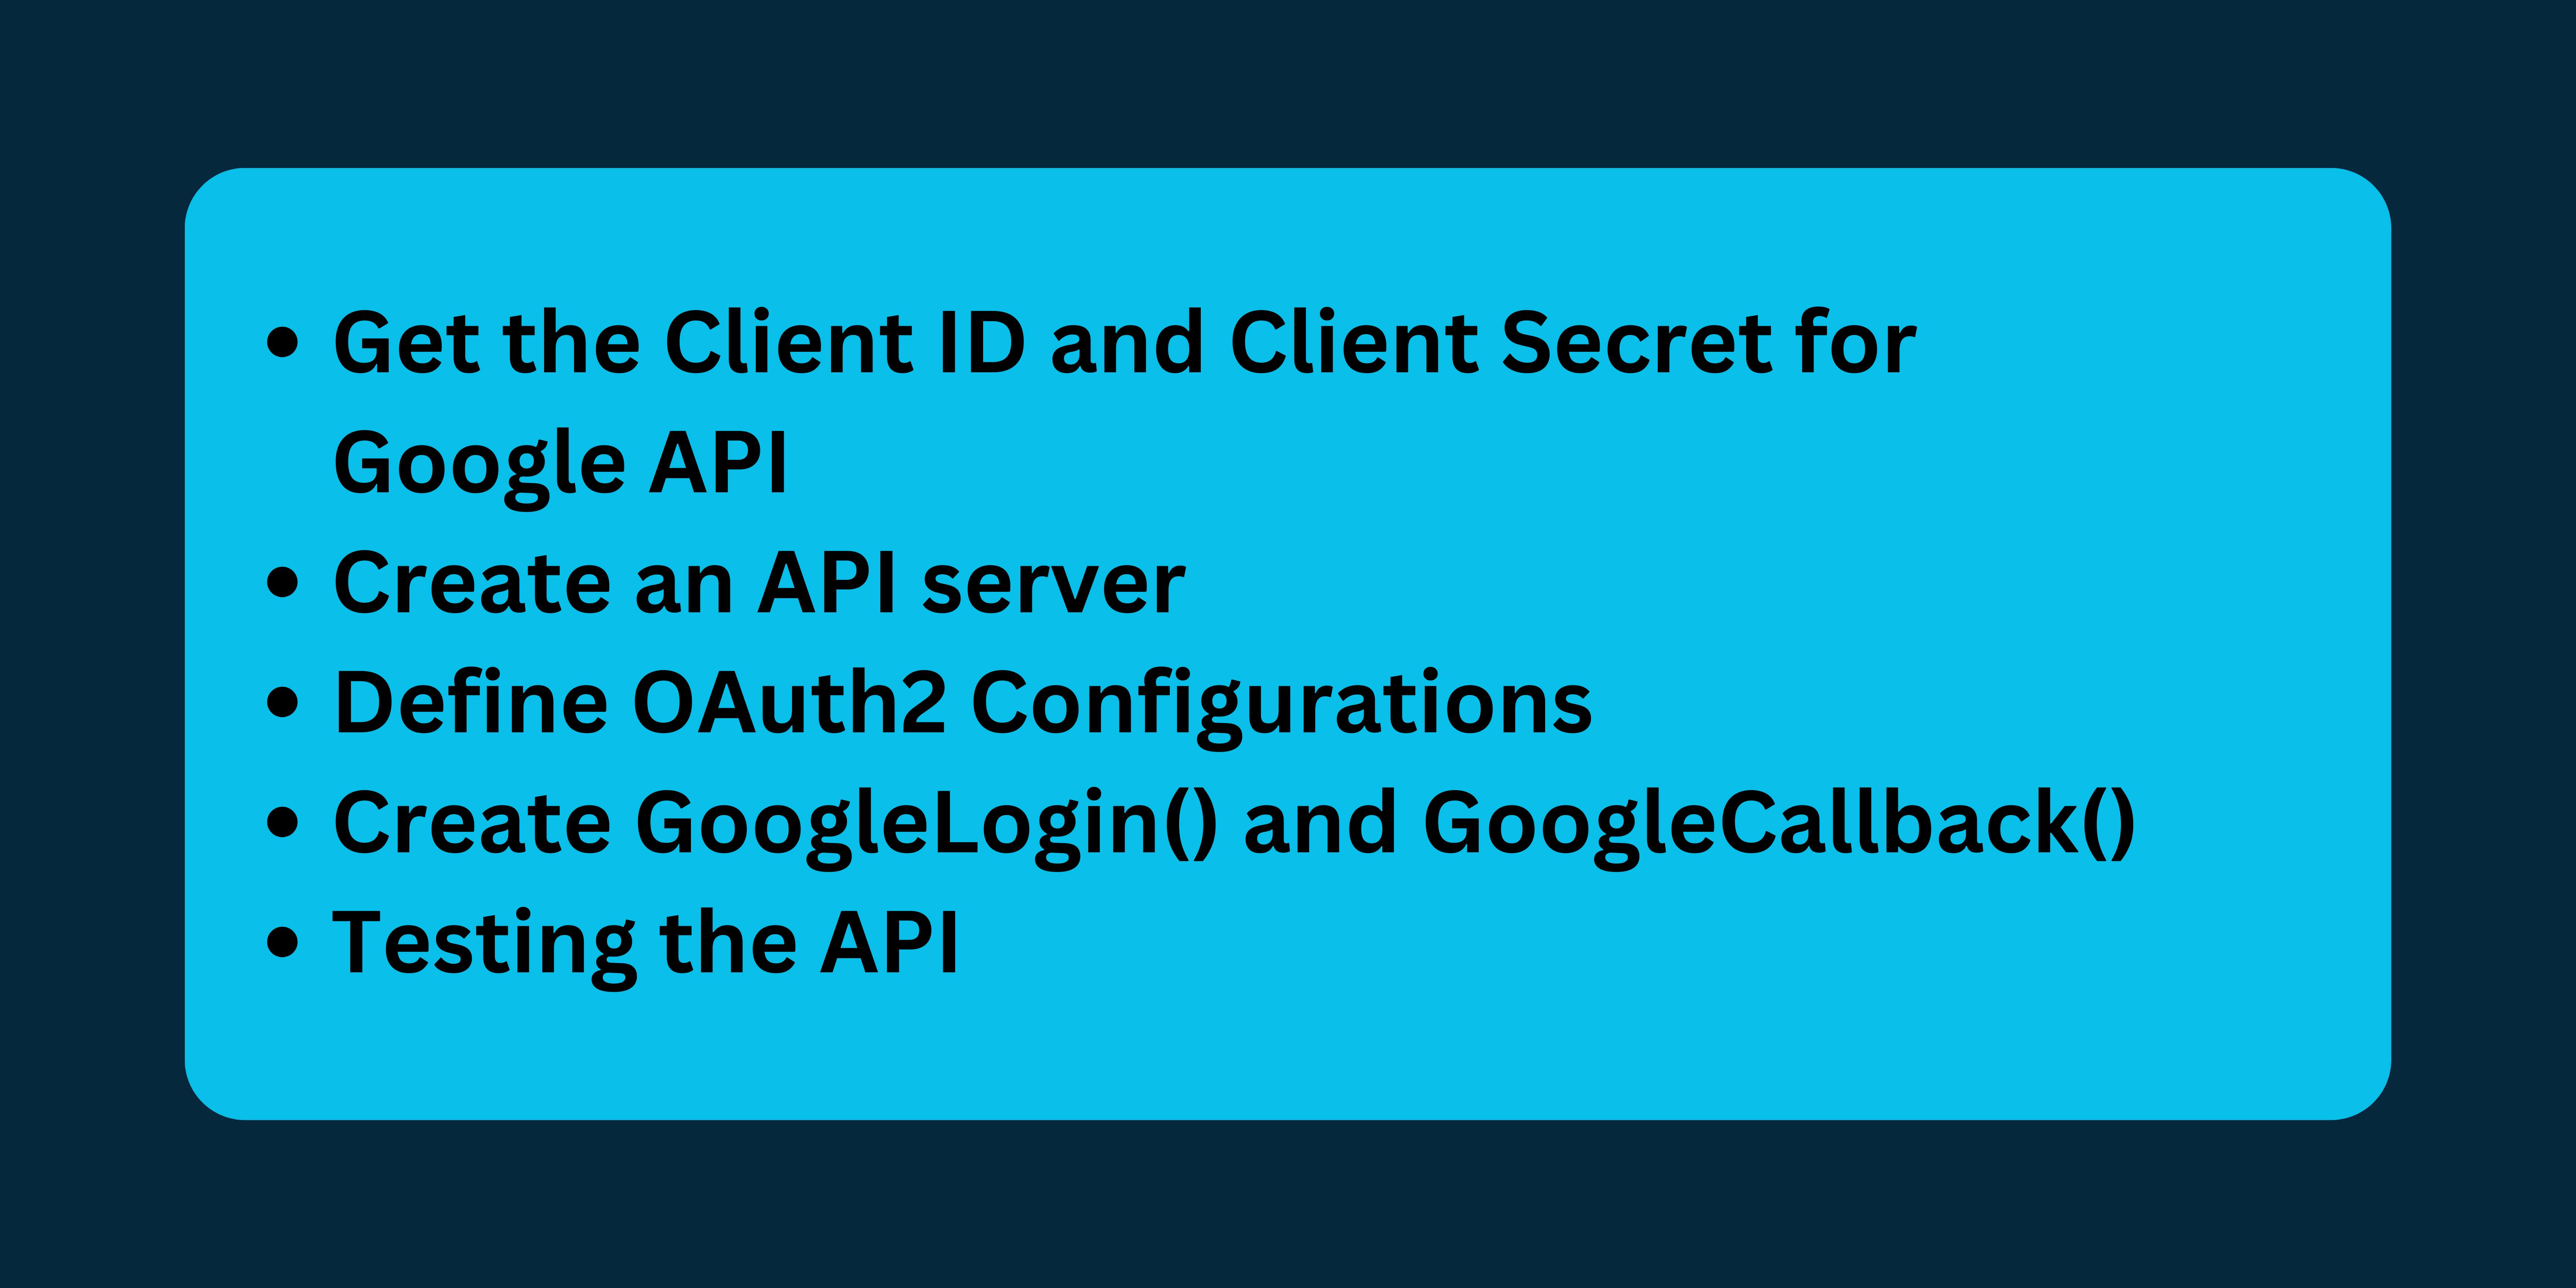
Follow the steps below for getting the Client Credentials for Google API :
Open Google APIs console, Click on the Credentials page.
Click Create Credentials > OAuth client ID. Select the Application type as Web Application and add the name of the Application. For this tutorial, I've entered the Application as
Go-Auth2.Click ADD URI under Authorized JavaScript origins and add
http://localhost. Again click ADD URI and addhttp://localhost:8080as URI 2.Click ADD URI under Authorized redirect URIs and add
http://localhost:8080/google_callback.Copy the Client Credentials Displayed.
After getting the Credentials, store them in the .env file as shown below.
GOOGLE_CLIENT_ID : <CLIENT_ID> //Replace <CLIENT_ID> with your ID.
GOOGLE_CLIENT_SECRET : <CLIENT_SECRET> //Replace <CLIENT_SECRET> with your SECRET.
Initializing 💻:
Let's set up our server by creating a new instance of Fiber. For this create a file main.go and add the following code to it :
package main

import (
    "github.com/Siddheshk02/go-oauth2/controllers" //imoprting the controllers package
    "github.com/gofiber/fiber/v2"
)

func main() {
    app := fiber.New()

    app.Post("/google_login", controllers.GoogleLogin)
    app.Post("/google_callback", controllers.GoogleCallback)

    app.Listen(":8080")

}
Firstly, we are going to work on Google Login. So, comment on the Google Callback route for now.
Now, make a package/folder controllers , in this folder create google.go file.
We are going to create the GoogleLogin, GoogleCallback functions in the google.go file
We are going to use the golang.org/x/oauth2 package, to install it run the command,
go get golang.org/x/oauth2
Before working on these functions, we need to define the oauth2 configurations for the Google API.
Let's define oauth2.Config variable object GoogleLoginConfig in the GoogleConfig() function in config.go file. For this create a package/folder config and a file config.go inside the folder.
package config

import (
    "log"
    "os"

    "github.com/joho/godotenv"
    "golang.org/x/oauth2"
    "golang.org/x/oauth2/google"
)

type Config struct {
    GoogleLoginConfig oauth2.Config
}

var AppConfig Config

func GoogleConfig() oauth2.Config {
    err := godotenv.Load(".env")
    if err != nil {
        log.Fatalf("Some error occured. Err: %s", err)
    }

    AppConfig.GoogleLoginConfig = oauth2.Config{
        RedirectURL:  "http://localhost:8080/google_callback",
        ClientID:     os.Getenv("GOOGLE_CLIENT_ID"),
        ClientSecret: os.Getenv("GOOGLE_CLIENT_SECRET"),
        Scopes: []string{"https://www.googleapis.com/auth/userinfo.email",
            "https://www.googleapis.com/auth/userinfo.profile"},
        Endpoint: google.Endpoint,
    }

    return AppConfig.GoogleLoginConfig
}
RedirectURL: Redirect URLs are a critical part of the OAuth flow. After a user successfully authorizes an application, the authorization server will redirect the user back to the application.
ClientID: This we earlier stored in the
.envfile. TheClient_IDis a public identifier for apps. It is not guessable by third parties, so many implementations use something like a 32-character hex string. If the client ID is guessable, it makes it slightly easier to craft phishing attacks against arbitrary applications. It must also be unique across all clients that the authorization server handles.ClientSecret: This we earlier stored in the
.envfile. TheClient_Secretis known only to the application and the authorization server. It is the application’s password. It must be sufficiently random to not be guessable, which means you should avoid using common UUID libraries which often take into account the timestamp or MAC address of the server generating it.Scopes: It is a mechanism in OAuth 2.0 to limit an application's access to a user's account.
Update the main.go with the following code,
package main

import (
    "github.com/Siddheshk02/go-oauth2/config"
    "github.com/Siddheshk02/go-oauth2/controllers"
    "github.com/gofiber/fiber/v2"
)

func main() {
    app := fiber.New()

    config.GoogleConfig()

    app.Get("/google_login", controllers.GoogleLogin)
    //app.Post("/google_callback", controllers.GoogleCallback)

    app.Listen(":8080")

}
Now, let's work on the function GoogleLogin() in the google.go file.
package controllers

import (
    "github.com/Siddheshk02/go-oauth2/config"
    "github.com/gofiber/fiber/v2"
)

func GoogleLogin(c *fiber.Ctx) error {

    url := config.AppConfig.GoogleLoginConfig.AuthCodeURL("randomstate")

    c.Status(fiber.StatusSeeOther)
    c.Redirect(url)
    return c.JSON(url)
}
randomstate is called the State. It is a token to protect the user from CSRF attacks. You must always provide a non-empty string and validate that it matches the state query parameter on your redirect callback.
Now, let's test the login functions. Run the command go run main.go . Then go to the address http://127.0.0.1:8080/google_login in your browser. It must look like this,
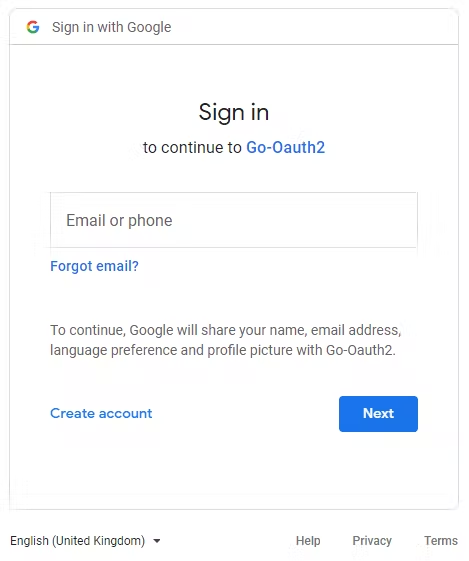
If you are already signed in then it will show that particular mail id and Use another account option.
Now, the login function is done. Let's create the GoogleCallback function.
func GoogleCallback(c *fiber.Ctx) error {
    state := c.Query("state")
    if state != "randomstate" {
        return c.SendString("States don't Match!!")
    }

    code := c.Query("code")

    googlecon := config.GoogleConfig()

    token, err := googlecon.Exchange(context.Background(), code)
    if err != nil {
        return c.SendString("Code-Token Exchange Failed")
    }

    resp, err := http.Get("https://www.googleapis.com/oauth2/v2/userinfo?access_token=" + token.AccessToken)
    if err != nil {
        return c.SendString("User Data Fetch Failed")
    }

    userData, err := ioutil.ReadAll(resp.Body)
    if err != nil {
        return c.SendString("JSON Parsing Failed")
    }

    return c.SendString(string(userData))

}
Here, we are going to pass the state variable from the URL parameter and we are going to check the randomstate that we've set in the GoogleLogin function, matches the randomstate that we are getting. If it matches, then that's the correct data that we want.
Next, we are passing the code variable for getting the token from the google server using the function Exchange() .
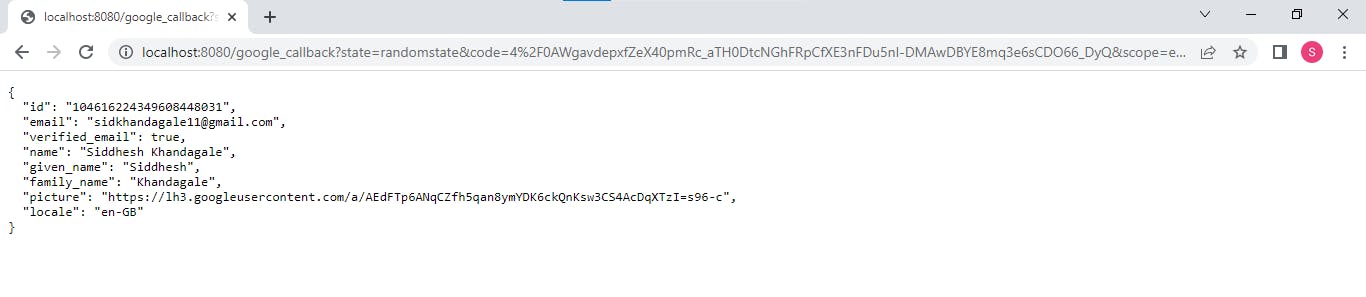
After getting the access token, we are getting the user data in the variable resp . We are getting a JSON response and storing it in userData variable.
Let's test for the /google_callback route. Run the command go run main.go . Then go to the address http://127.0.0.1:8080/google_login in your browser. Sign in using your account. On Successful Sign-in, your data will be displayed.
So, the API is ready. Further, you can add other features by connecting it to a Database and adding new users in your App, more routes, etc.
The complete code is saved in this GitHub repository.